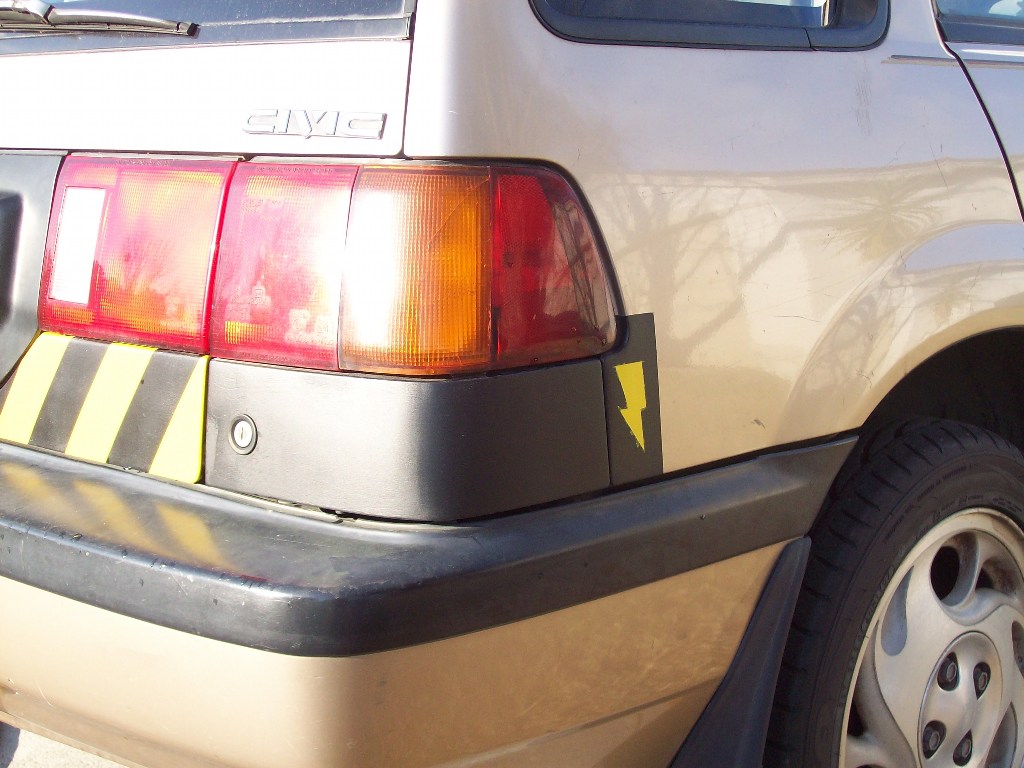
You may remember I fixed a rust spot some time ago. It was on the body, just past the corner, but the corner had a bit of rust, too. I painted both the corner and a rectangular bit of the body. I let Melissa mask off a bit of the corner in the shape of a lightning bolt, and we painted that bit yellow.
As you can see from the picture, the masking was incomplete. But the kids think it looks "more electric", so it's cool.
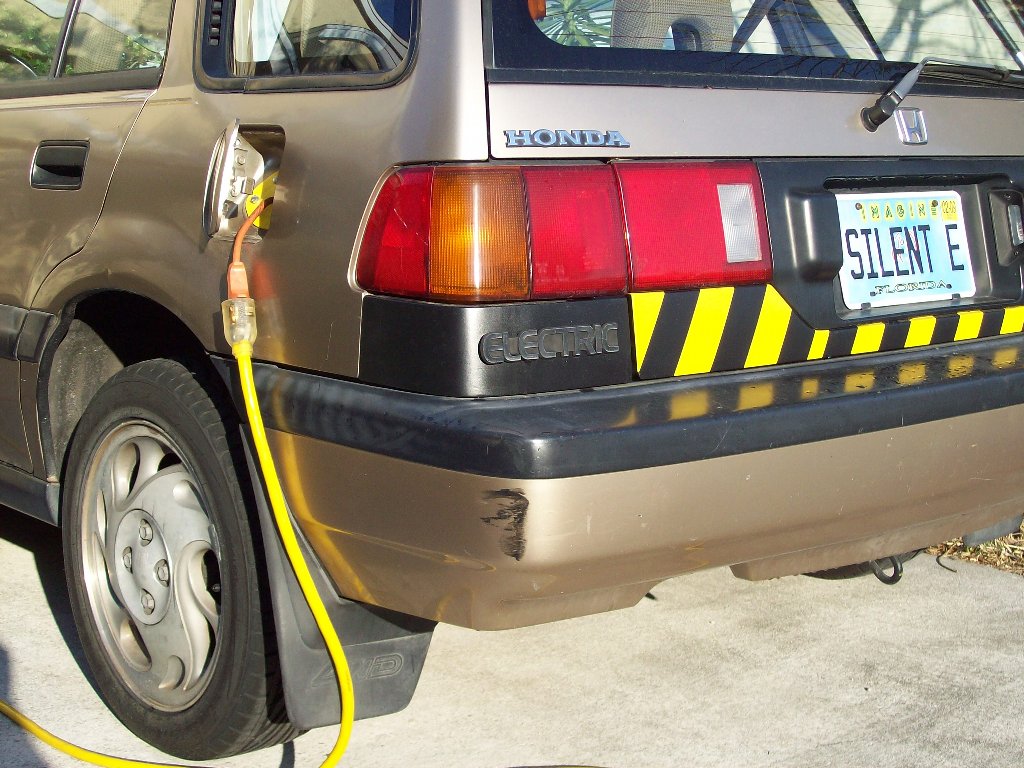
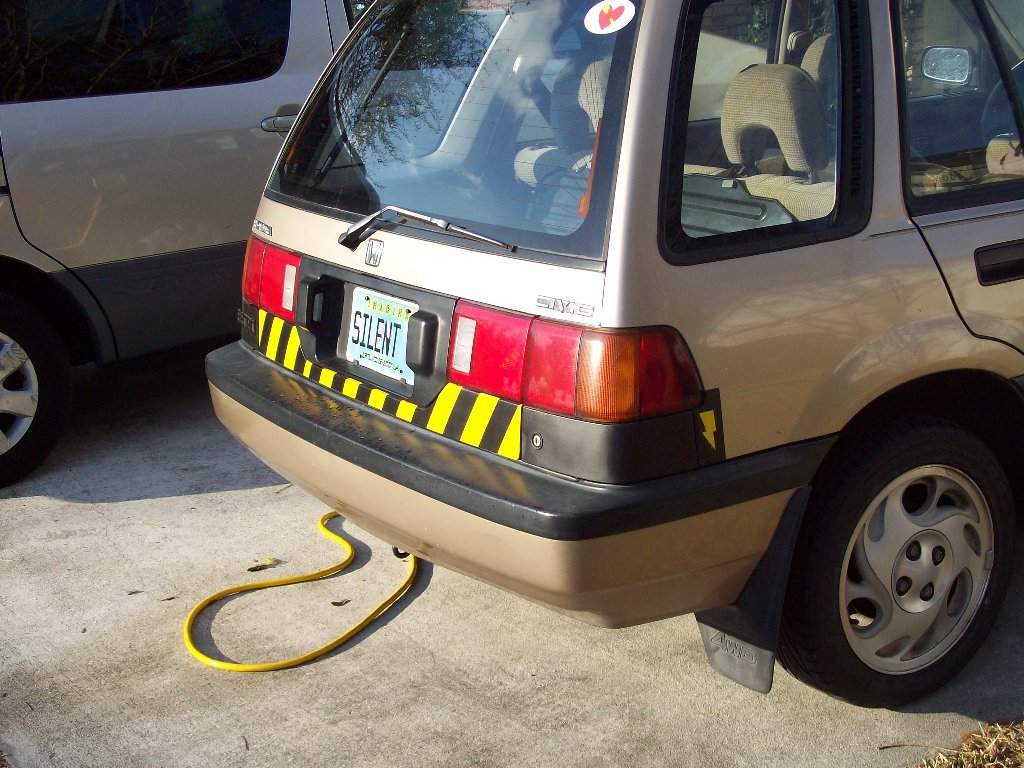
Two weekends later, I repaired the rest of the rust. To make the job look consistent (as opposed to "black patches"), I painted the portion of the hatch that runs between the two corners. To make it look cool, I painted it black and yellow, like a caution tape.
Read on for the other pictures.
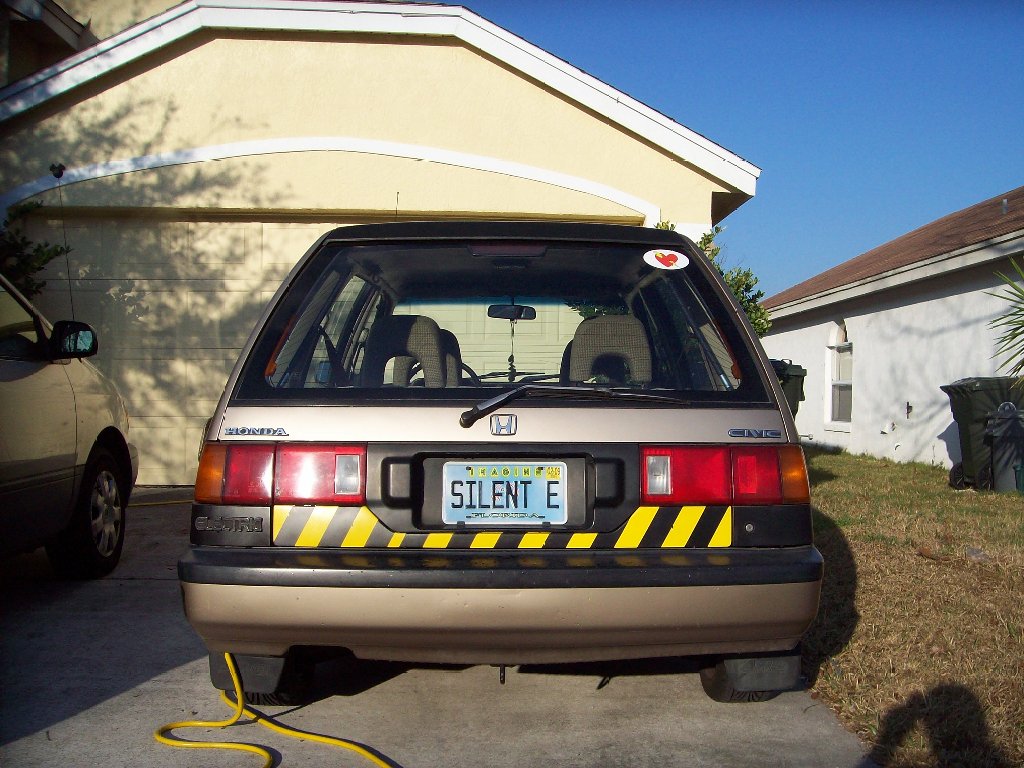
There ya go. I sanded, added some body filler to a low spot, sanded, primered, sanded lightly, goofed up, resanded, reprimered, and sanded very lightly. I laid down blue tape at an angle over the entire area. Then I removed every 3rd and 4th strip. I painted it yellow and waited overnight for the paint to dry.
Then I removed the remaining blue tape, put new tape down over the yellow stripes, and painted everything remaining black. I figured the black would cover any yellow areas I had missed better than the yellow would have covered the black.
I waited overnight for the paint to dry, removed the tape, and reassembled my hatch. You see the results.
Not too shabby. I hoped that my method would make a nice smooth surface, but there are ridges at every stripe. There's also no clear coat. Oh, well; it's not like it's professional. It looks unique, and it effectively ends any concerns over rust on the hatch.